So here’s the thing—at the very beginning, when I was trying to learn the basics of a Camera, it was more confusing than I would expect. I went through articles and YouTube videos for hours and still ended up confused with a camera at hand. Now that I feel more confident about my knowledge of cameras in general, I think I know the things I really needed to know at the beginning.
First, I will discuss the three main pillars of camera settings that you probably see everywhere. So why do I need to talk about them again? I am writing this for a five-year-old, remember? That is why. Please bear with me. I will break down the three most essential camera settings in terms of their effects and side effects.
ISO:
Effect: higher ISO numbers bring more light to your photo & smaller numbers bring less light.
Side Effect: high ISO number also adds film grains to your photo.
General Rule: try to keep your ISO number as low as possible. Film grains can sometimes add artistic value to your photo, but you do not need to worry about them when you are just starting out.
Aperture:
This number is shown with an “F” sign at the beginning. Do not worry if you see many articles discussing how this number is inversely proportionate to the camera iris/opening.
Effect: the lower the F number, the more light your photo gets and vice versa.
Side Effect: the lower the F number, the more everything around your subject gets blurrier.
Shutter Speed:
It is precisely what the name says – how fast your shutter closes. It is represented as a fraction number on the camera monitor, like 1/100, 1/60, 1/400 and so on. Sometimes, it is shown in just plain numbers like 100, 200.
Effect: The lower the number here, the brighter your image gets.
Side Effect: a higher number here can freeze moving objects in your frame. But if you want the popular night street photo with car lights drawing colorful lines on roads, you have to lower the number. Also, the lower the number, the more likely your image will become shaky due to any unintentional hand movement.

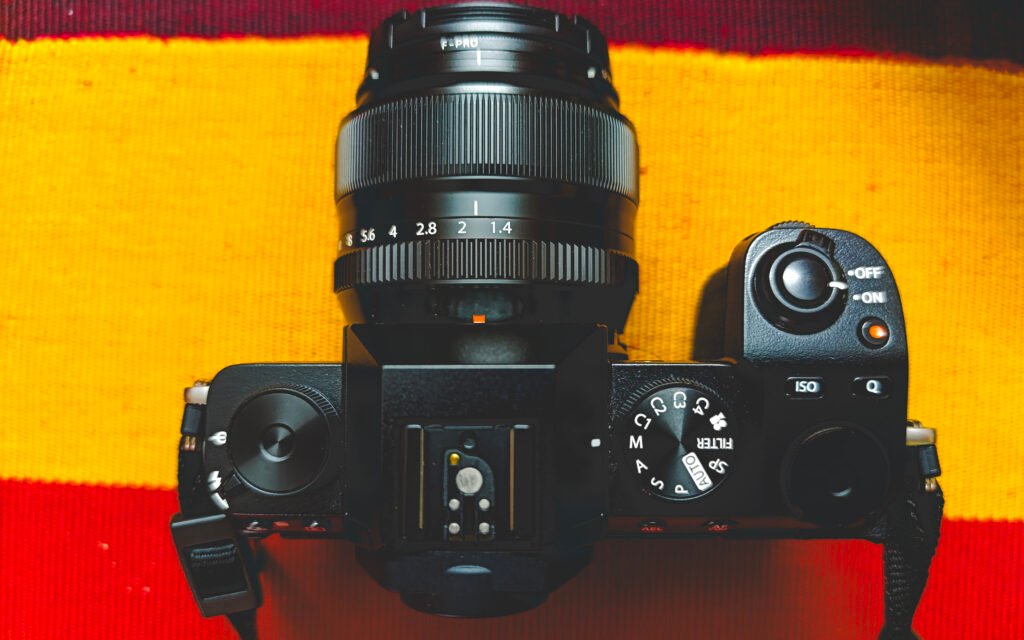
So, controlling these 3 settings is more than enough to take great photos. But where do you start? Which setting do you fix first? Again, I am telling you not to worry much about all the sciences you find on the internet. As a beginner, you can always start by using Auto mode on your camera; there is no shame in that. Then, look at the ISO, aperture & shutter speed that the camera selected on its own. Say you find the photo to be darker than you want. Go to manual mode, select the ISO & aperture of auto mode. Finally reduce shutter speed little by little to improve the light of the photo.
Similarly, correct the ISO if the auto mode photo comes grainy, correct the aperture if you need less/more blur around your subject. Generally speaking, start with ISO first. Keep the ISO as low as possible. Then, correct the aperture/shutter speed according to your needs. This may sound like a bit of a slow process, but learning is never easy. In time, you will be able to set the camera in a blink according to your needs. That is how everyone learns, you will too.
Now, there is another way to step up your camera game at the beginning: Aperture Priority Mode. You can find this mode in your camera dial as “A” or “Av”. With this mode, you can select the aperture according to your desired blur around the subject. The camera will automatically select the shutter speed & ISO. To be more specific, if you are taking someone’s portrait, then select aperture between 2-4. If you are trying to take a landscape photo or trying to fit more than 3 persons in a frame, then select an aperture between 8 and 10. You can select ISO in this mode, but do it when you are more familiar with the ISO parameter.
In the end, i can not emphasize on the fact enough that time is your best teacher. The more time you spend using your camera and taking a lot of photo the more you will develop your own style, setting preferences. When it comes to creativity there is no fixed rule. But before breaking the rules, you must first learn them.


